
Inventory Management System IMS on the GST portal helps businesses manage their stock while trying to adhere to GST. This step-by-step walk-through is a guide on using IMS within the GST Portal.
Step 1: Log into the GST Portal
Visit the official GST portal: https://www.gst.gov.in
Click on the “Login” button in the upper right-hand side.
Enter your Username, Password, and Captcha Code.
Click Login to access your dashboard.
Step 2: Navigate to IMS
On the dashboard, locate the Inventory Management System (IMS) module.
Click on IMS to access the inventory management features.
Step 3: Add Inventory Items
In the IMS module, go to Manage Inventory.
Click on Add New Item.
Enter details such as:
Item Name
HSN Code (Harmonized System of Nomenclature)
Quantity
Unit of Measure
Purchase Price
Sale Price
Click Save to add the item to your inventory.
Step 4: Update Inventory Records
To update existing inventory, go to Inventory List.
Select the item you want to update.
Edit the required fields, for example, quantity, price, or description.
Click Update to save changes.
Step 5: Track Stock Movements
Click on Stock Ledger to view stock movement history.
Use filters to check stock inflow and outflow.
Download reports for record-keeping.
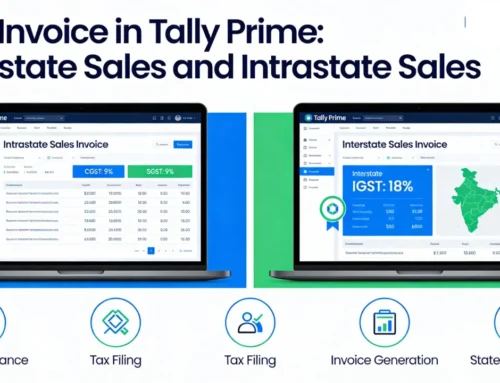
Step 6: Generate GST-Compliant Invoices
In the IMS module, navigate to Generate Invoice.
Select items to be invoiced.
Buyer details including GSTIN, Name, and Address
Click on Generate to get a GST invoice.
Download or print the invoice as needed
Step 7: Reconcile Inventory with GST Returns
Inventory Reports
Compare stock records with GST filings
Sales and purchases and tax filings must agree
Make all adjustments before GST returns filing
Conclusion
Using IMS in the GST Portal helps businesses efficiently manage inventory while maintaining compliance with tax regulations. By following these steps, you can ensure accurate inventory records and smooth GST return filings.